







Driveway Grader Attachments: How to Resurface a Gravel Driveway With a Skid Steer
A gravel driveway that washboards every spring or summer isn't broken, it's just overdue for a regrade. If you already have a skid steer on the property for other work, you don't need to call in a grading contractor or rent a separate machine to fix it.
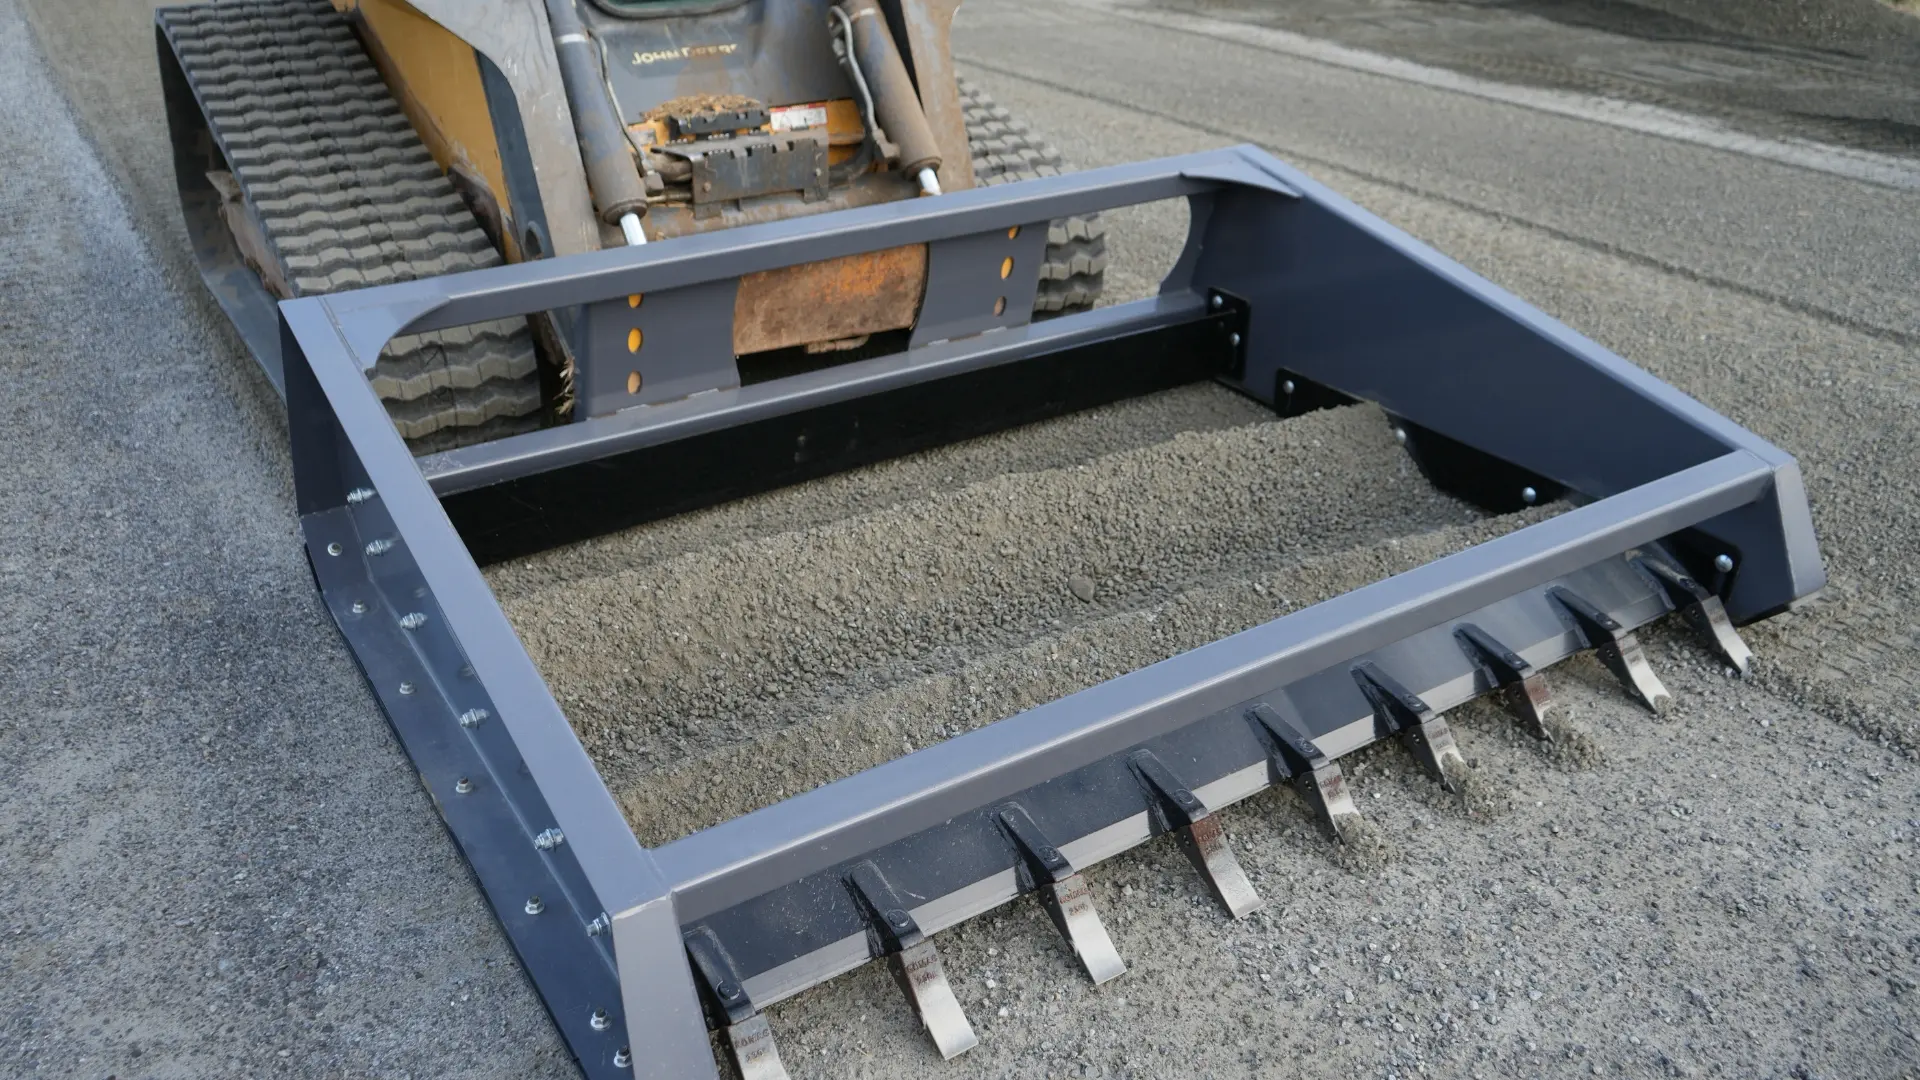
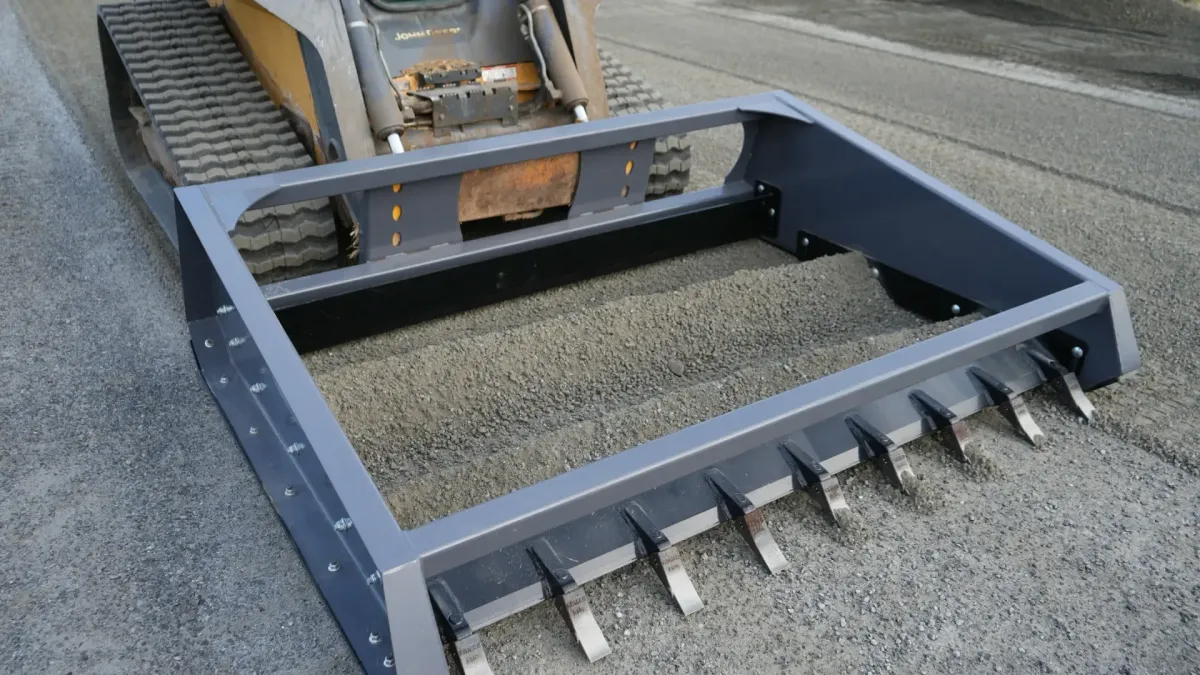
You can resurface a washboarded or rutted gravel driveway in a single afternoon by attaching a driveway grader to a skid steer, redistributing the loose surface material evenly across the ruts, and restoring a slight center crown so water sheds to the sides instead of pooling and re-cutting the same channels. Most residential driveways take 3 to 5 passes total, depending on how far gone the surface has gotten.
What causes washboarding in the first place is repeated tire action on loose material, the same wheels braking and accelerating over the same few feet of gravel, over and over, until small ridges form and grow with every pass. Add a driveway with poor crown or drainage, and those ridges hold water, soften, and get worse every time it rains. A driveway grader breaks that cycle by redistributing the material and rebuilding the shape that sheds water instead of trapping it.
Before you start, it's worth confirming your driveway grader attachment actually matches your skid steer's hydraulic output. Most driveway graders run fine on standard-flow machines, but a grader with a wider blade or a hydraulic tilt function may need more flow than a base-model skid steer delivers. Running an attachment below its rated flow doesn't damage anything outright, it just means slower blade response and less consistent grading depth across a pass, which shows up as an uneven crown even when you think you've graded evenly.
What You'll Need
A skid steer with a driveway grader attachment mounted and hydraulics confirmed compatible
Work gloves and eye protection
A rake or shovel for hand-finishing edges near mailboxes, culverts, or landscaping
Extra gravel or base material on hand if ruts are deep enough to need topping off
A simple way to check slope, a 4-foot level or a laser level works fine at driveway scale, no survey equipment needed
How to Resurface a Gravel Driveway, Step by Step
Step 1: Walk the Driveway First
Before you ever lower the blade, walk the full length of the driveway and note where the problems actually are. Washboarding tends to cluster near braking zones (close to the road, near a garage, or before a curve), while low spots and standing water usually show up wherever the crown has flattened out or reversed. Mark problem spots mentally or with a stake so you're not guessing once you're in the cab.
Step 2: Set the Grader's Blade Angle
Most driveway grader attachments let you adjust blade angle and down-pressure from the cab. For general resurfacing, a slight angle (10 to 15 degrees) moves material from the high spots toward the center and edges without digging too aggressively into the base layer. Too steep an angle on the first pass tends to gouge rather than redistribute, which just creates new low spots you'll have to fix later in the same job.
Step 3: Make Your First Pass Down the Center
Start with a shallow pass straight down the middle of the driveway at a steady, moderate speed. The goal on this first pass isn't to fix anything, it's to loosen and begin redistributing the top layer of material so the grader has something workable to shape on the passes that follow. Rushing this step by grading too deep too early is the most common mistake on a first attempt.
Step 4: Work the Edges and Low Spots
Make a second and third pass focused on pulling material from the high edges (where gravel tends to accumulate over time) back toward the center and into any low spots you noted in Step 1. This is where hand-finishing with a rake pays off, tight spots around culverts, mailbox posts, or landscaping edges are easier to clean up by hand than to chase with the machine.
Step 5: Re-Establish the Crown
A healthy gravel driveway has a slight crown, meaning the center sits an inch or two higher than the edges, so water runs off to the sides instead of pooling in the middle. As a rule of thumb, aim for roughly a 2 to 4 percent slope from center to edge, steep enough to shed water quickly but gentle enough that vehicles don't feel like they're driving on a slant. On your final full-length pass, angle the blade to build that crown back up rather than flattening the surface out completely.
Check your slope with a level every 20 to 30 feet if this is your first time regrading a stretch of driveway, since it's easy to underestimate how flat a "finished" pass actually looks from the cab. A driveway that looks crowned from the operator's seat can still test flat once you put a level on it, and a flat driveway is exactly what led to the washboarding you're fixing in the first place. It's worth the extra few minutes to check rather than assume the crown held.
Step 6: Compact and Inspect
If your driveway grader has a built-in roller or compaction feature, run a final pass to firm up the regraded surface before traffic returns to it. If not, driving over the fresh surface a few times with the skid steer itself helps settle loose material. Walk the driveway one more time afterward to confirm the crown holds and there's no standing water in the low spots you fixed.
Frequently Asked Questions About Resurfacing a Gravel Driveway
How often should a gravel driveway be regraded?
Most residential gravel driveways benefit from a regrade once or twice a year, typically in spring after freeze-thaw cycles and again in late summer or fall before winter weather sets in. High-traffic driveways or ones with poor drainage may need attention more often.
Can a skid steer driveway grader fix potholes, or just washboarding?
A driveway grader handles both, but potholes deep enough to need new base material should be topped off with fresh gravel before grading over them. Grading alone redistributes existing surface material; it won't create new volume where the base itself has washed away.
Why does my driveway keep washboarding in the same spots?
Washboarding almost always returns to the same location if the underlying cause isn't fixed. Repeated braking or turning in one area, poor drainage that keeps the base soft, or a crown that's flattened out over time will all cause ridges to reform even after a fresh regrade.
Is a dedicated driveway grader attachment better than using a standard bucket?
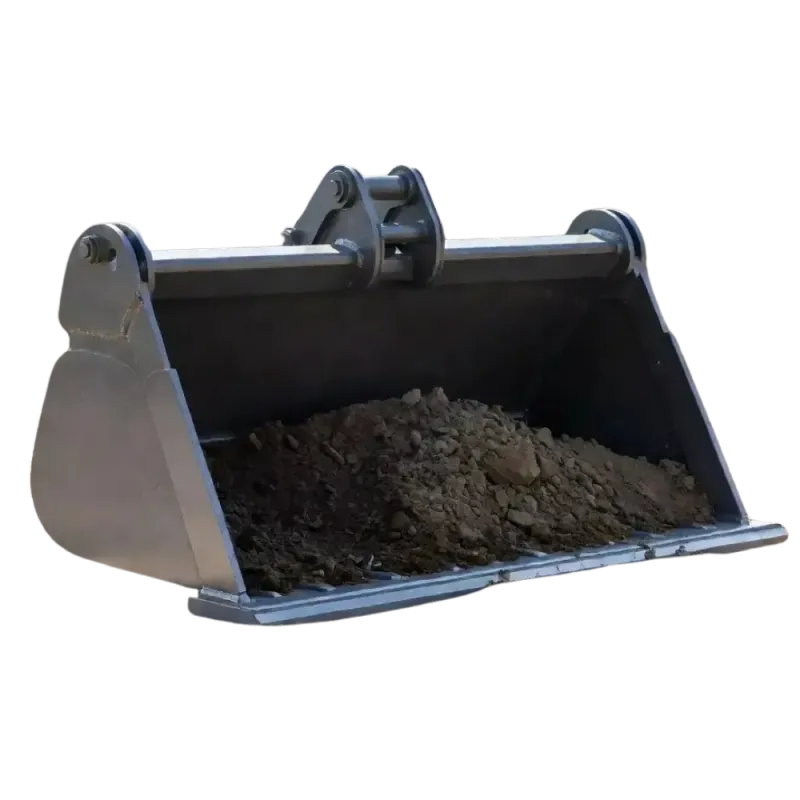
Yes, for this specific job. A standard bucket can push material around, but a dedicated grader is built to redistribute surface material evenly and hold a consistent blade angle across the full width of the driveway, which is what actually restores a proper crown instead of just moving high spots to new locations.
Does the direction I grade matter, or can I work in any pattern?
Working lengthwise down the driveway, rather than diagonally or in short back-and-forth sections, produces a more even crown because the blade maintains consistent contact with the surface over a longer, steadier pass. Short, choppy passes make it harder to keep the blade angle consistent, which is often where uneven crowns and new low spots come from even on a driveway that was regraded recently.
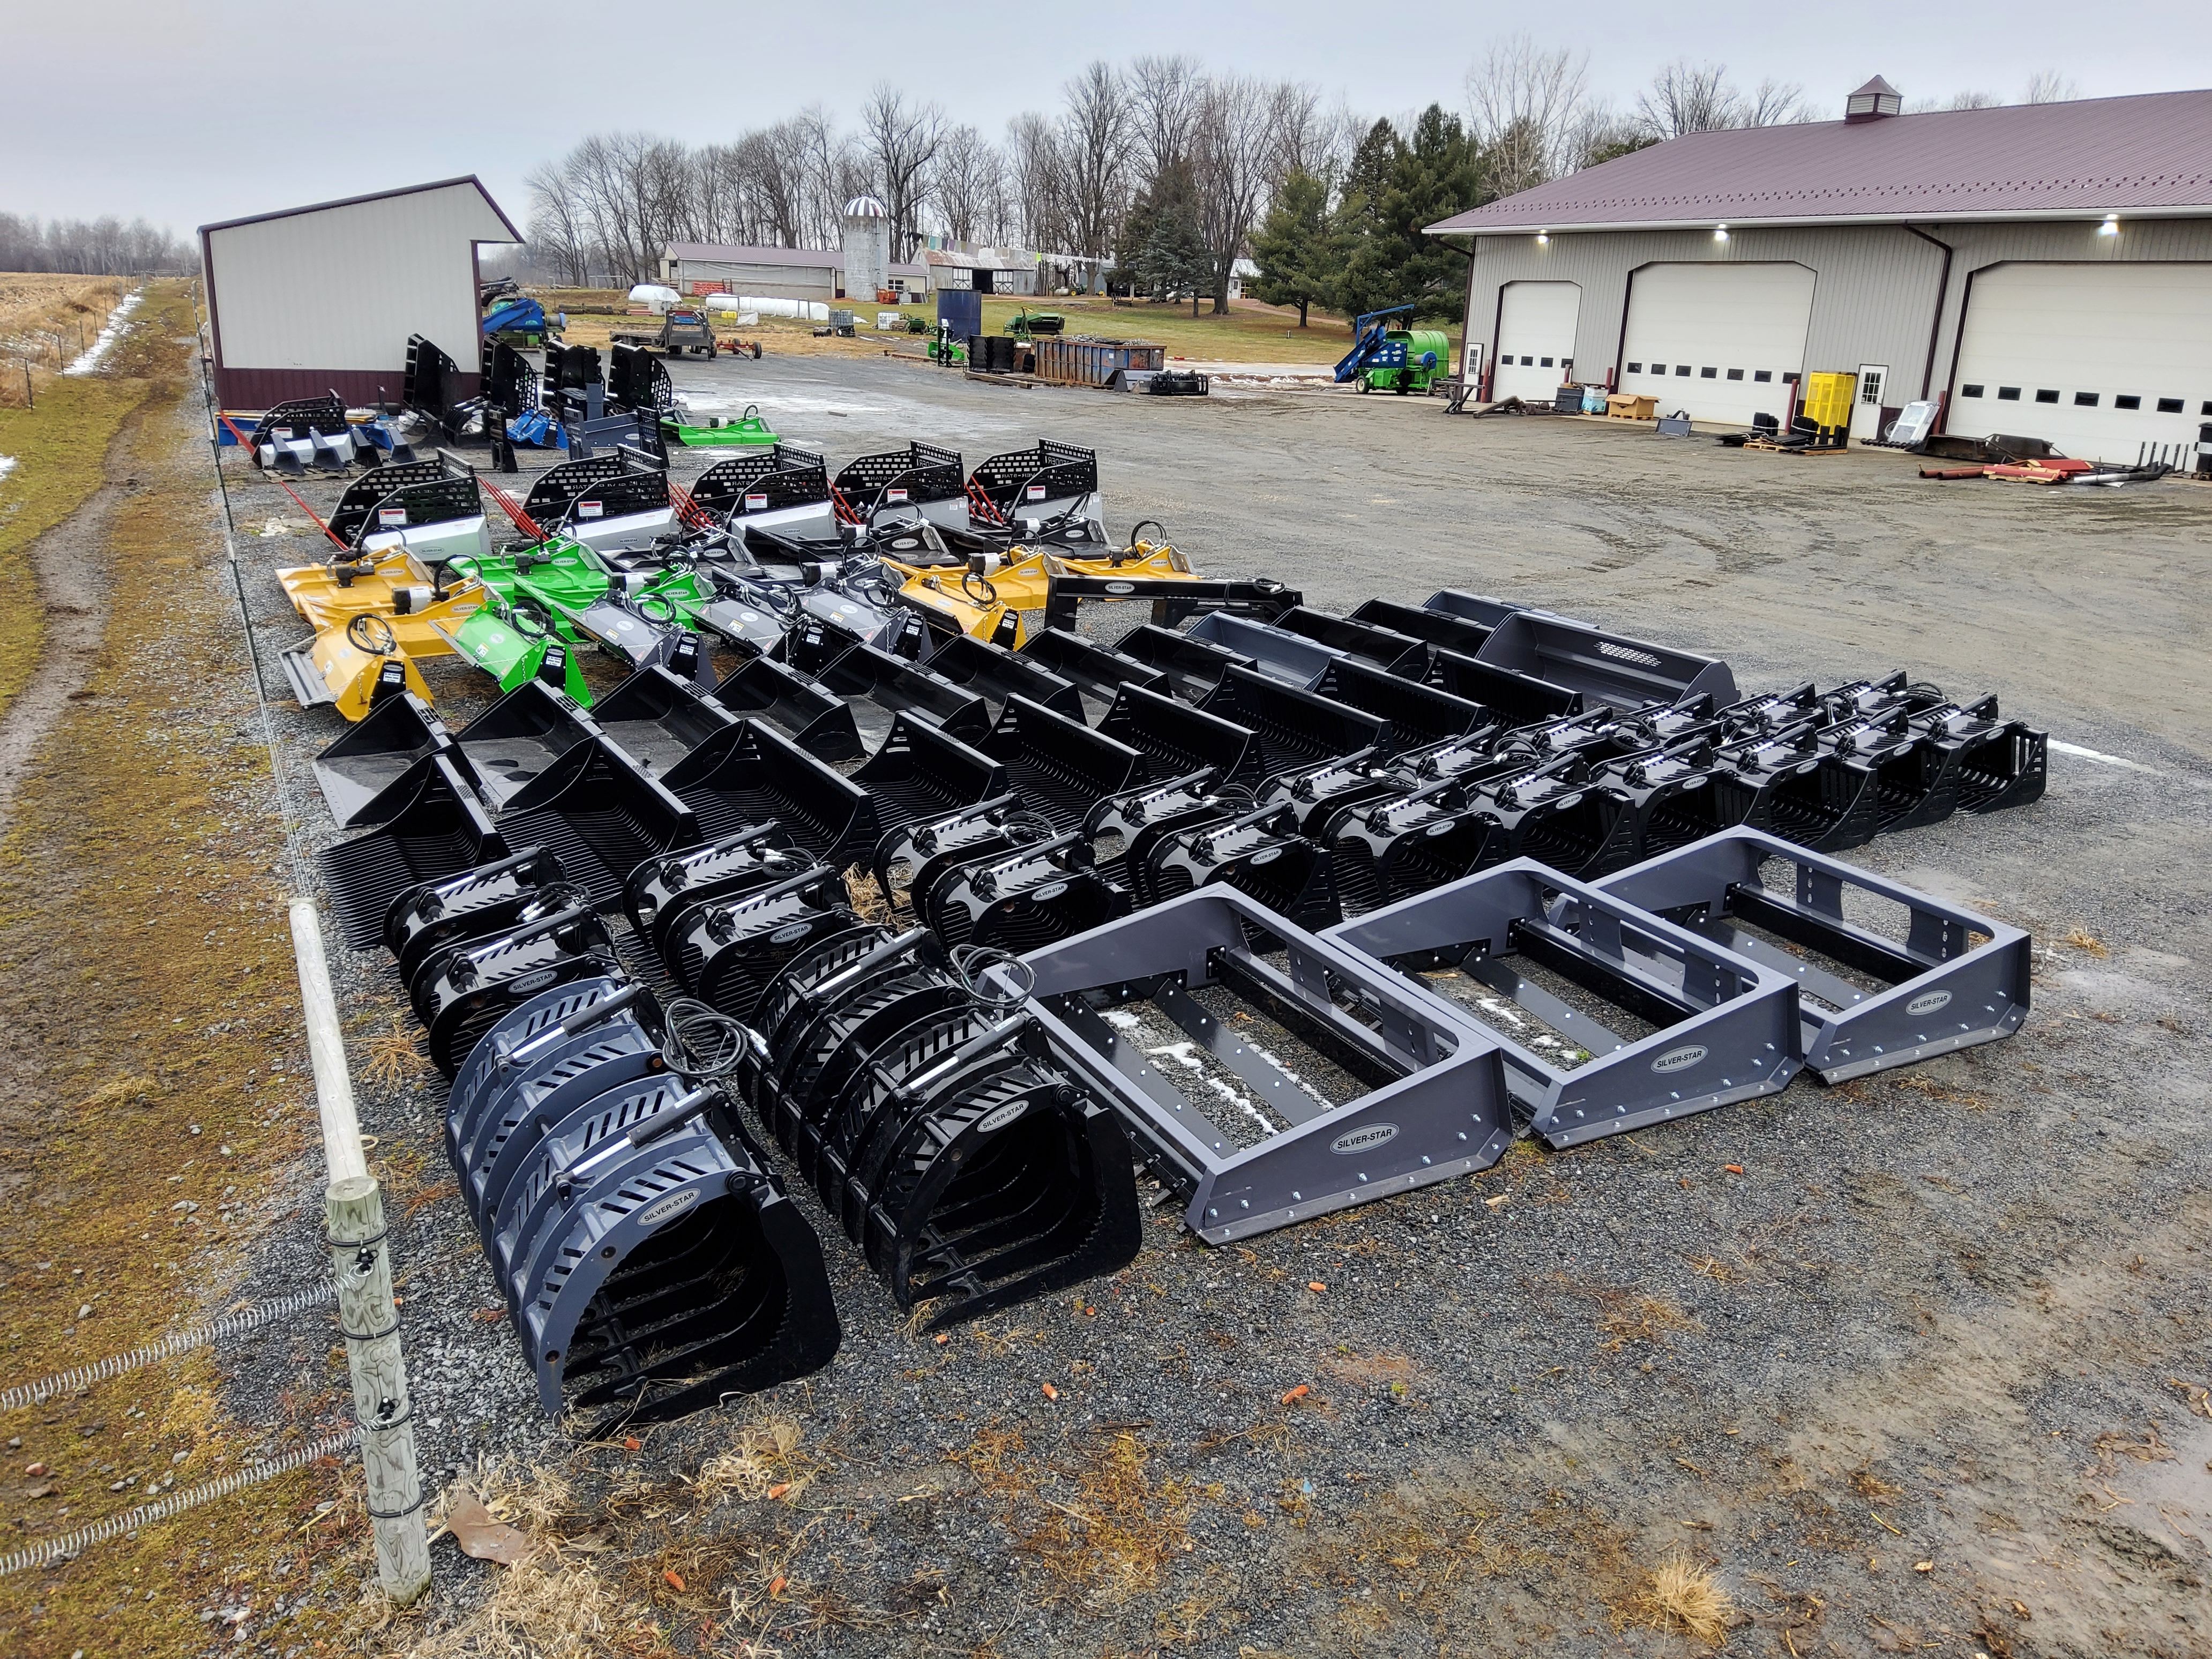
If your driveway is due for more than a quick touch-up, adedicated driveway grader attachmentdoes the job in a fraction of the time a standard bucket takes, and it's built to hold up to the kind of repeated seasonal use a gravel driveway demands. Browse thefull attachment lineupto see how it fits alongside the rest of Silver Star's skid steer attachments, or read theComprehensive Guide to Skid Steer Attachmentsfor the full picture on matching any attachment to your machine.